Your Ultimate Guide to Using GOOLOO Products
Congratulations on your purchase of GOOLOO. Product! This innovative product is designed to make your driving life easier and more enjoyable. In this guide, we'll walk you through how to use GOOLOO Jump Starter and share some tips and tricks to help you get the most out of it.
Parts and Functional Description
The surface of the GOOLOO Jump Starter has many features, such as the Indicator, Power Switch, LED Flashlight, In/Out port, and more. Each feature serves a different purpose, such as the Battery Indicator, which displays the remaining battery life. To check the battery power, simply press the power switch.

GOOLOO GP4000 JUMP STARTER SPEC
How to Jump-start a Vehicle
-
Connect the smart jumper cable fully into this unit and make sure the two indicators on the jumper cable is off.

-
Connect red clamp to the positive (+) battery terminal and black clamp to the negative (-) battery terminal

-
Check the indicator lights on the jumper cable, press the button and start your car engine.

-
When the vehicle has been started, remove the jumper cable from the jump starter and vehicle battery

How to Charge Your Phone, Bluetooth headphones or Tablet
-
Plug the charging cable into USB-A port and your devices.
-
Press the power switch, the unit can identify your device and charge it automatically. The battery indicators will be lit up when charging.

How To Turn On/Off The LED Flashlight
Long press the power switch 3 seconds to start the LED light. There are 3 modes of LED light appear in order (Normal, Strobe, SOS, Off ) if you press slightly.

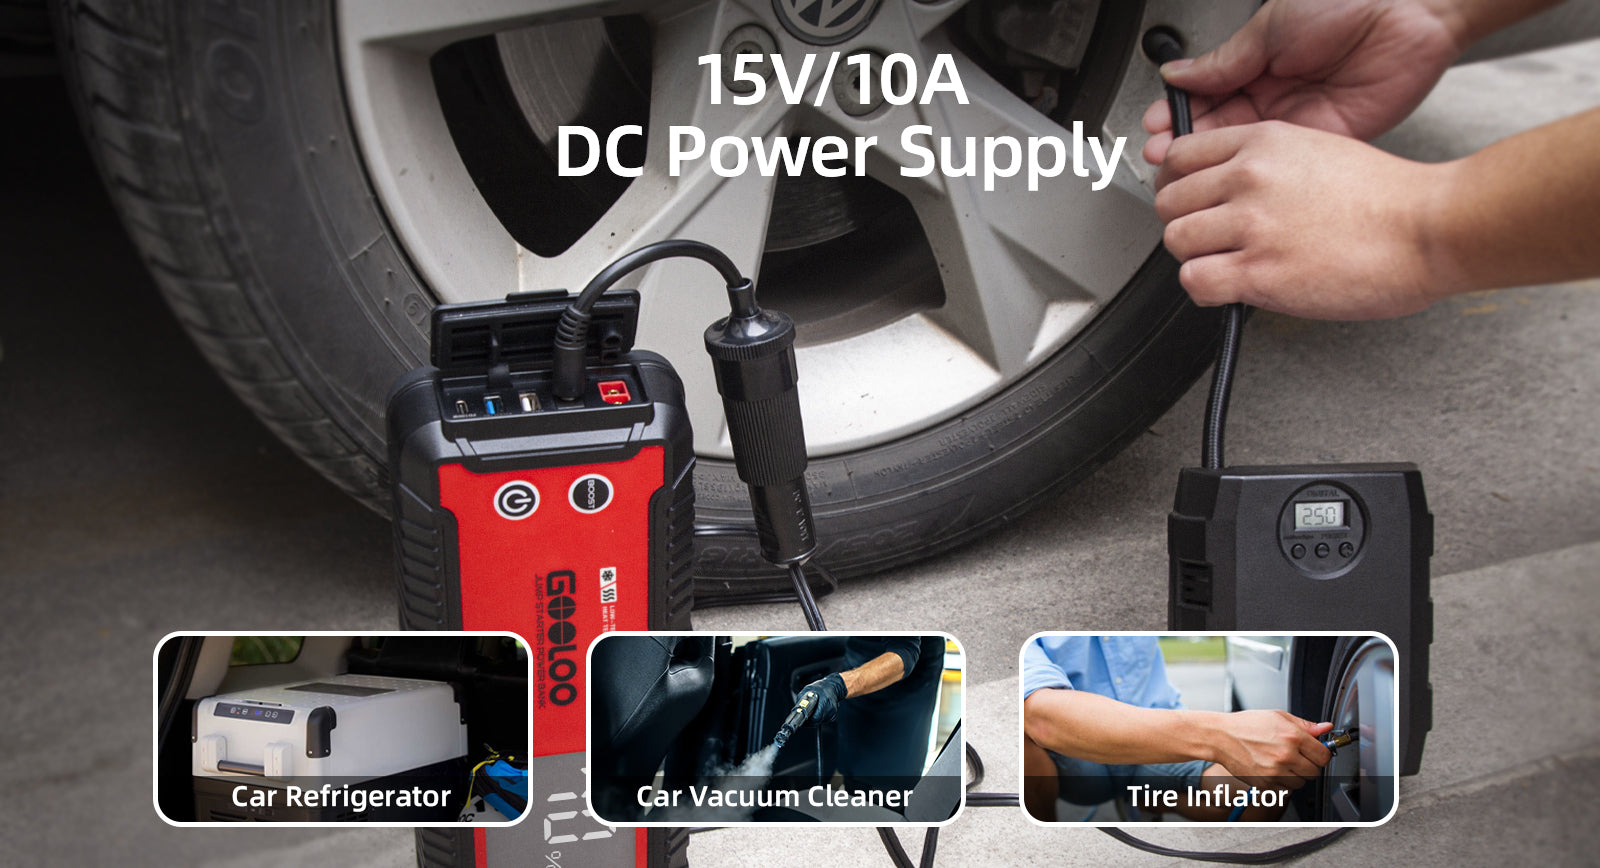
How To use GOOLOO Jump Starters’ DC Output.
- Connect the DC output: Connect the DC output cable to the DC output port of the GOOLOO Jump Starterand the DC input port of the device being powered, ensuring a secure connection.
-
Power on the device: Turn on the power of the device being powered and check if it is running normally.


100W CAR CHARGER

100W Wall Charger
During the charging process, the indicator will blink one by one. The number of solid indicators indicates the current battery power level. Upon completion of the charging process, all indicators will automatically turn off.


1 thought on “Your Ultimate Guide to Using GOOLOO Products”
Paul McCann
I would ;like better instructions – and a set for each model – As I give these as gifts to some who are not car/electrically literate – I make up single side A4 instruction for each model and put in poly-pocket in box – eg:
GOOLOO GT1500 JUMP STARTER GREEN –WITH BOOST OVERRIDE
Charge fully before use and then every 2/3 months -mains charger or a car charger
PROCEED WITH CAUTION – Remember the Joiner – Measure TWICE – CUT ONCE!
– CHECK CONNECTIONS BEFORE TURNING ONN
1. Connect RED CLAMP to POSITIVE BATTERY TERMINAL and BLACK CLAMP to NEGATIVE BATTERY TERMINAL. Turn ON- best if unit has 2 Bars of power – but always try!
CHECK the indication lights on the Jump Cable.
READY =SOLID GREEN LIGHT
RED LIGHT AND BLEEPING = WRONG POLARITY –
check Red Jump Lead connected to (+) of battery
NO LIGHTS, NO BEEPING = Battery Completely Flat or damaged – try BOOST FUNCTION – see 3 below
2. Start Car within 30 seconds
3. If car battery is very low – NO LIGHTS on Jump Cable – DOUBLE CHECK RED JUMP LEAD TO (+)
Hold Down BOOST button on side of Jumper Cable – to force Output – without protection SOLID GREEN LIGHT comes on.
BOOST Override – DISABLES SAFETY NO Reverse Polarity and Short Circuit and O/L PROTECTION -MAKE SURE ALL CONNECTIONS CORRECT BEFORE USING!
Torch activated by turning ON unit –Then Holding Power button down for a further 2-3 seconds Light comes on – push gently go to STROBE and again for SOS and OFF.